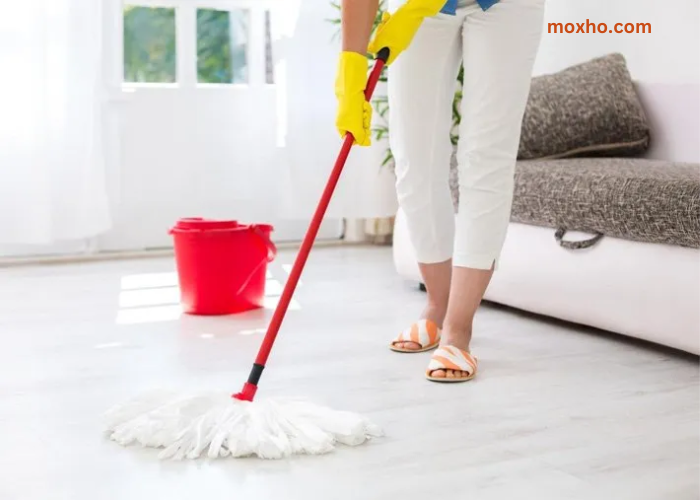
Vinyl floors have become increasingly popular in recent years due to their affordability, durability, and versatility. Whether you have vinyl planks or vinyl tiles, one common issue that many homeowners face is scratches on their vinyl floors. Fortunately, there are several methods you can use to remove scratches from your vinyl floor and restore its original beauty.
Different Types of Scratches on Vinyl Floors
Before diving into the methods of scratch removal, it’s important to understand the different types of scratches that can occur on vinyl floors. Surface scratches are the most common type and usually only affect the top layer of the vinyl. These scratches are often shallow and can be easily repaired.
Deeper scratches, on the other hand, penetrate the protective layer of the vinyl and may require more involved methods to fix. It’s crucial to assess the severity of the scratches before proceeding with any repair method to ensure the best results.
Preparing the Floor at First
Before attempting to remove scratches from your vinyl floor, it’s essential to prepare the area properly. Start by thoroughly cleaning the floor with a mild detergent and warm water. This will help remove any dirt or debris that could potentially worsen the scratches during the repair process. Once the floor is clean, dry it thoroughly to prevent any moisture from seeping into the scratches. It’s also a good idea to ventilate the room to ensure proper air circulation during the repair.
Next, gather the necessary tools and materials for scratch removal. Depending on the severity of the scratches, you may need a soft cloth, fine-grit sandpaper, a vinyl repair kit, or a heat gun. Having these items on hand will make the repair process more efficient and effective.
DIY Methods to Remove Light Scratches
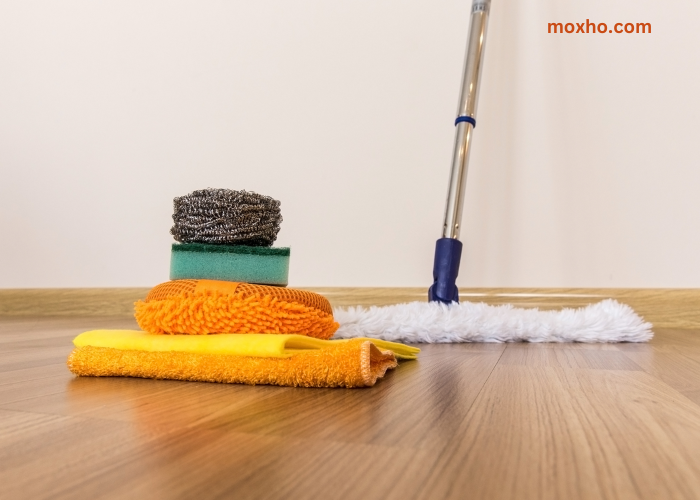
For light surface scratches, there are several DIY methods you can try to remove them. One effective method is to use a mixture of baking soda and water. Create a paste by combining equal parts baking soda and water, then apply the paste to the scratched area using a soft cloth. Gently rub the paste onto the scratch in a circular motion, being careful not to apply too much pressure.
After a few minutes, wipe away the excess paste with a clean cloth and assess the results. Repeat the process if necessary until the scratches are no longer visible.
Another DIY method to remove light scratches is to use a hairdryer. Set the hairdryer to a low heat setting and hold it a few inches away from the scratched area. Move the hairdryer back and forth over the scratch for a few minutes, allowing the heat to soften the vinyl. The heat will help the vinyl regain its shape and minimize the appearance of the scratches.
Using Commercial Products to Remove Deep Scratches
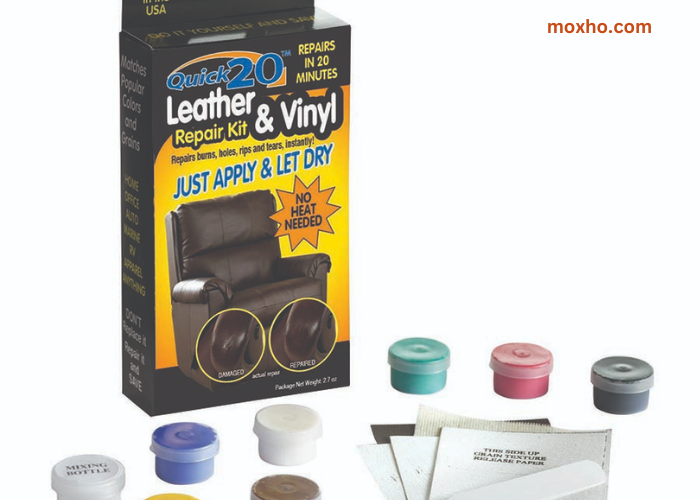
For deeper scratches that have penetrated the protective layer of the vinyl, commercial products specifically designed for scratch removal can be highly effective. One such product is a vinyl repair kit, which often includes a filler compound and a colour-matching solution.
Start by applying the filler compound to the scratch, following the manufacturer’s instructions. Use a putty knife or a similar tool to spread the compound evenly over the scratch, filling it. Once the compound has dried, apply the colour-matching solution to blend the repaired area with the rest of the floor.
If you don’t have a vinyl repair kit, another option is to use a heat gun. Set the heat gun to a low heat setting and hold it a few inches away from the scratched area. Move the heat gun back and forth over the scratch, heating the vinyl for a few seconds.
Be cautious not to overheat the vinyl, as it may cause further damage. Once the vinyl becomes pliable, use your fingers or a soft cloth to massage the scratched area gently. The heat will help the vinyl regain its shape and minimize the appearance of the scratches.
Maintenance Tips to Keep Vinyl Floors Scratch-Free
Prevention is always better than cure, and the same applies to vinyl floors. By following a few simple maintenance tips, you can keep your vinyl floors looking pristine and scratch-free for years to come.
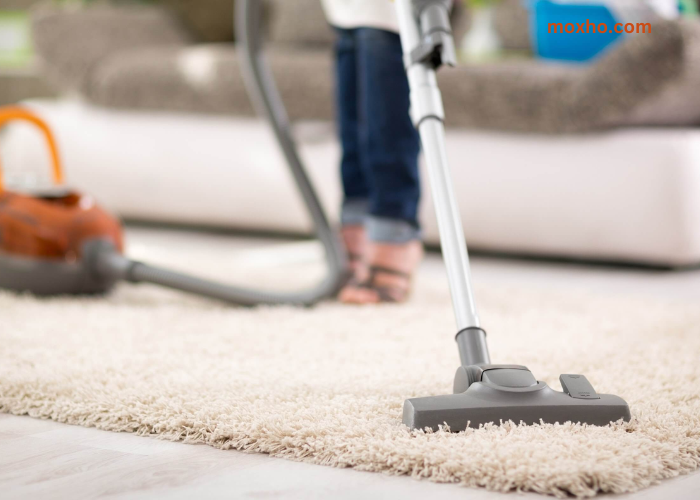
First and foremost, place doormats at all entry points to trap dirt and debris before it reaches your floors. Regularly sweep or vacuum the floors to remove any loose particles that could potentially scratch the vinyl.
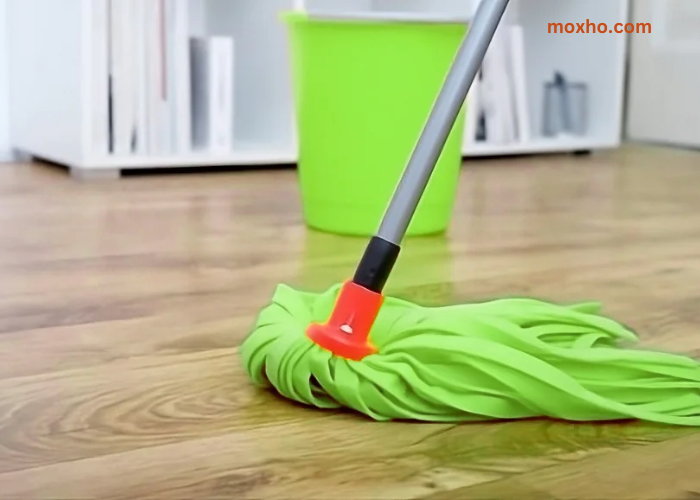
For more thorough cleaning, use a mop or damp cloth with a mild cleaner specifically formulated for vinyl floors. Avoid using abrasive cleaners or scrub brushes, as these can cause scratches.
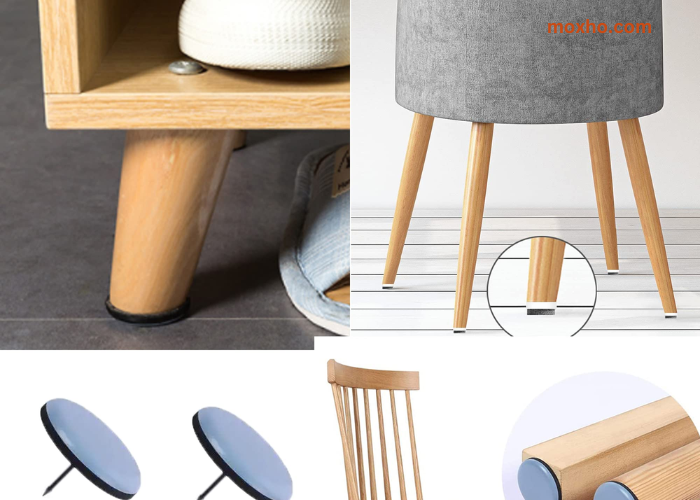
If you have furniture on your vinyl floors, consider using felt pads or furniture glides underneath the legs to prevent scratches when moving or rearranging. Trim your pet’s nails regularly to minimize the risk of scratching. Additionally, avoid dragging heavy objects across the floor, as this can leave deep scratches. By implementing these maintenance tips, you can prolong the lifespan of your vinyl floors and keep them looking their best.
Conclusion
Scratches on vinyl floors can be unsightly, but they don’t have to be permanent. With the right knowledge and tools, you can effectively remove scratches and restore the beauty of your vinyl floor. By maintaining your floors and addressing scratches promptly, you can enjoy the longevity and aesthetic appeal of your vinyl flooring for many years to come.
