To join woodwork, you should learn how to cut a groove into wood. Woodworking is a timeless craft that allows us to create beautiful and functional pieces from a simple piece of wood. One essential skill every woodworker should master is cutting grooves into timber. In this guide, we will walk you through cutting grooves into wood, from the tools and materials you’ll need to the techniques and safety precautions to remember.
Things That You Need
Before you start cutting grooves into wood, it’s essential to gather the necessary tools and materials. The following list will ensure you have everything you need to complete the task:
- Wood piece
- Groove cutting too
- Measuring tools
- Clamps
- Safety equipment
- Chisels and mallet
Some Techniques
There are different techniques you can employ to cut grooves into wood, depending on your preference and the tools you have available. Let’s explore some standard methods:
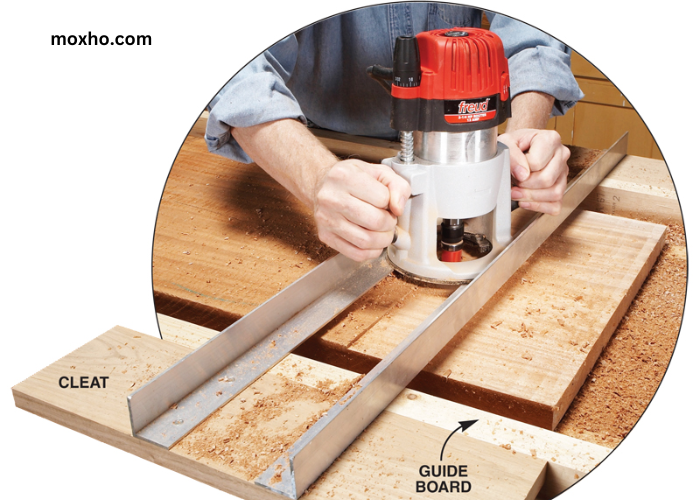
- Router technique: A router is a versatile power tool that can be used to cut various types of grooves. By attaching the appropriate router bit, you can achieve precise and consistent grooves. This technique is ideal for larger projects or when working with hardwood.

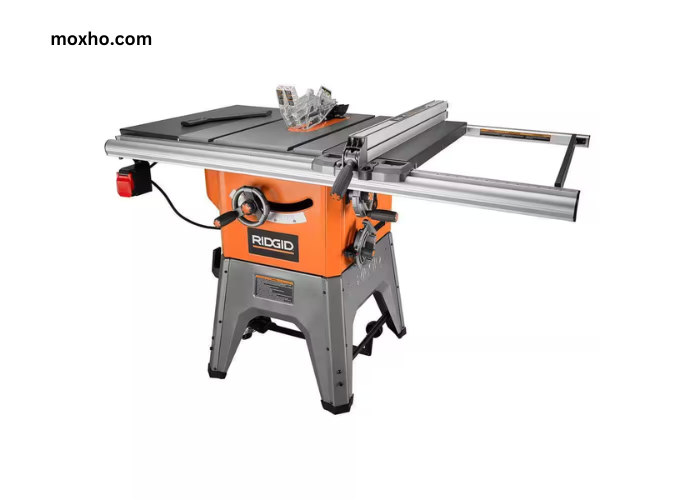
- Table saw technique: A table saw equipped with a dado blade is another effective method for cutting grooves. This technique allows you to cut grooves quickly and accurately. It is beneficial for cutting dados and rabbits.

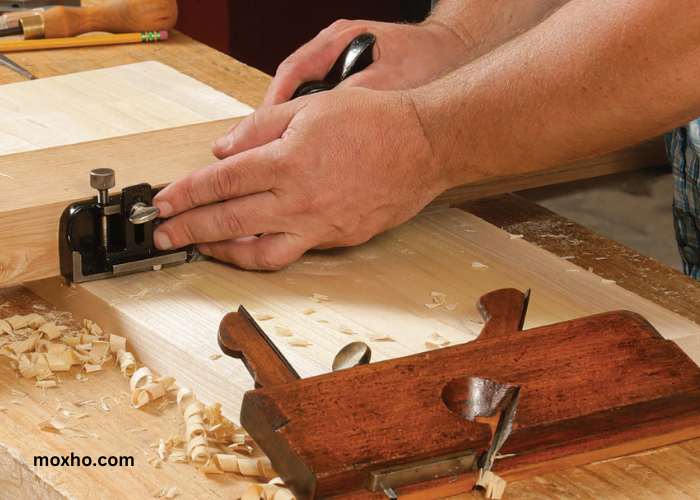
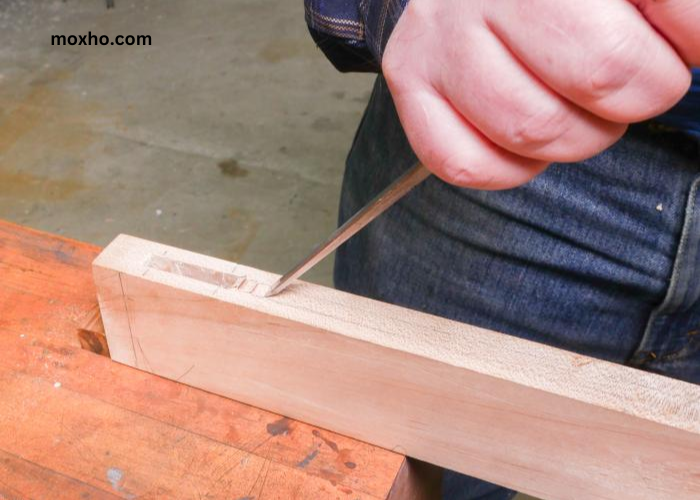
- Hand tool technique: If you prefer a more traditional approach, hand tools such as chisels and mallets can cut grooves manually. This technique requires patience and practice to achieve clean and precise results. It is often used for smaller projects or when working with softer woods.

Experiment with different techniques to find the one that suits your style and project requirements.
Step-by-Step Guide
Now that you have gathered the necessary tools and understand the safety precautions let’s dive into the step-by-step process of cutting grooves into wood:
- Measure and mark: Use measuring devices to determine the exact location and dimensions of the groove you want to miss. Mark the wood piece accordingly.
- Set up your tools: Using a power tool such as a router or table saw, ensure it is appropriately set up and adjusted according to the desired groove depth and width. If using hand tools, ensure your chisels are sharp and ready.
- Secure the wood: Clamp the wood piece securely to your work surface to prevent any movement during the cutting process. This will ensure clean and precise cuts.
- Make multiple passes: When using power tools, it’s recommended to make multiple passes rather than cutting the entire depth in one go. This will result in cleaner and safer cuts.
- Follow your marked lines: Slowly and steadily guide the tool along the marked lines, keeping a firm grip and applying consistent pressure. Take your time to ensure accuracy.
- Test the fit: Once the groove is cut, test the fit with the corresponding piece that will join or fit into it. Make any necessary adjustments to achieve a snug fit.
- Clean up: Remove any wood chips or debris from the groove before proceeding with the next steps of your woodworking project.
These steps will help you achieve clean and precise grooves in your woodwork.
Conclusion
Cutting grooves into wood is an essential skill for any woodworker. With time and experience, you will master the art of cutting grooves into wood and be able to create beautiful and functional pieces. Now, it’s time to put your knowledge into practice and start cutting grooves into wood with confidence! Happy woodworking!
