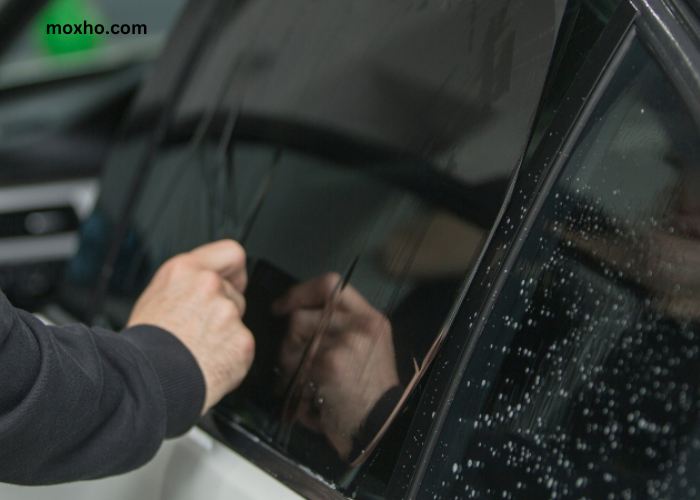
Tinting windows can be a great way to enhance the appearance and privacy of your vehicle or home. However, one of the most common issues people encounter when tinting their windows is the presence of bubbles. These unsightly bubbles can not only ruin the aesthetics of the tint but also impair visibility and reduce the effectiveness of the tinting. In this guide, we will explain why tint bubbles occur and provide you with a step-by-step process on how to get rid of them effectively.
Why tint bubbles occur
Understanding why tint bubbles occur is essential to prevent them from happening in the first place. Several factors can contribute to the formation of bubbles during the tinting process. The most common reason is improper installation, where the tint film is not adequately aligned or smoothed out.
This can create air pockets that eventually turn into bubbles. Other factors include excessive heat during the curing process, poor quality tint film, and environmental conditions such as high humidity levels.
Tools and materials needed for bubble removal
Before you begin the process of removing bubbles from your tint, it is vital to gather the necessary tools and materials.
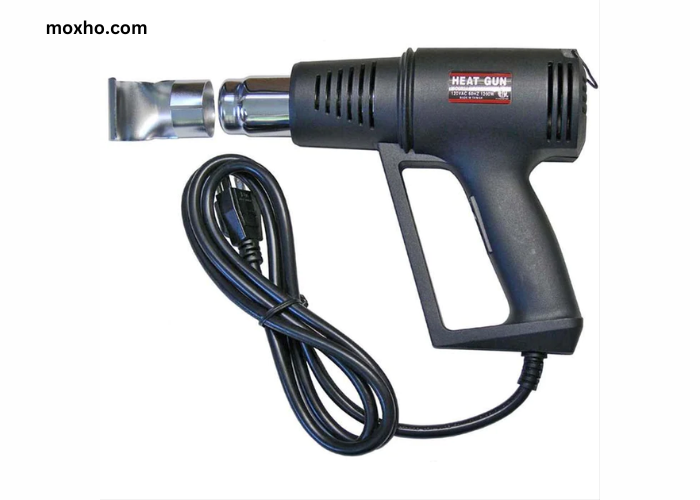
Heat gun: The heat gun or hairdryer will help to soften the tint film, making it easier to manipulate and remove the bubbles.

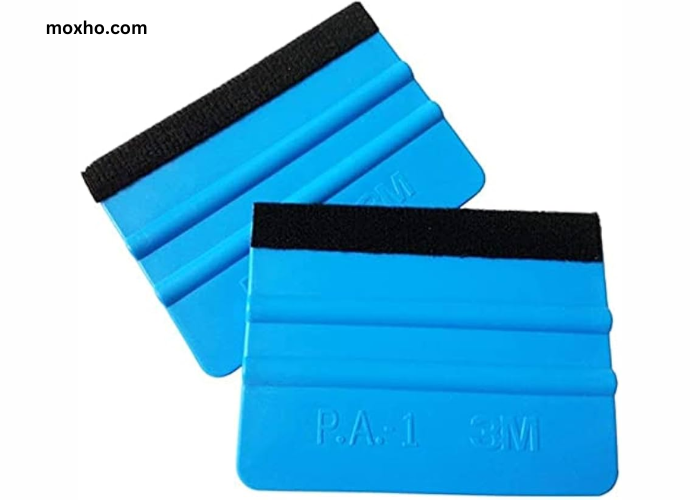
A squeegee or credit card: The squeegee or credit card will smooth out the tint film and push the bubbles towards the edges.

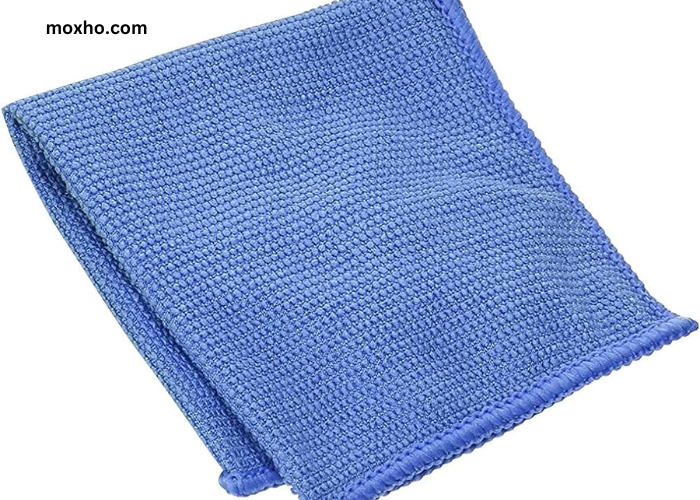
A lint-free cloth: The lint-free cloth and soapy water solution will help to clean the window surface and remove any dirt or debris that may be contributing to the formation of bubbles.

Step-by-step Guidance
- Start by thoroughly cleaning the window surface with the lint-free cloth and soapy water solution. Make sure to remove any dirt, dust, or debris that may be present.
- Next, heat a gun or hair dryer to warm the tint film. Apply heat evenly across the surface, careful not to overheat or damage the film.
- Once the tint film is warm and pliable, use the squeegee or credit card to push the bubbles towards the edges of the window gently. Apply even pressure and work in a smooth, sweeping motion.
- As you push the bubbles towards the edges, apply heat using the heat gun or hairdryer. This will help to soften the film and make it easier to manipulate.
- Once all the bubbles have been pushed towards the edges, use the squeegee or credit card to smooth out the tint film and remove any remaining air pockets. Work from the center towards the edges, applying even pressure.
- After you have smoothed out the tint film, use the lint-free cloth and soapy water solution to clean the window surface again. This will help to remove any residue or streaks that may have been left behind during the bubble removal process.
Alternative methods
If the step-by-step process described above does not effectively remove the bubbles from your tint, there are alternative methods that you can try. One method is using a pin or needle to carefully puncture the bubbles and then using the squeegee or credit card to smooth the film. However, this method should be used cautiously as it can potentially damage the tint film if not done correctly.
Another alternative way is using a tint adhesive remover, which can help to dissolve the adhesive and release the bubbles. This method best suits stubborn bubbles that cannot be removed using the heat and squeegee method.
Professional tint bubble removal services
If you cannot remove the bubbles from your tint or prefer to leave the job to the professionals, there are tint bubble removal services available. These services specialize in removing bubbles and imperfections from tinted windows using advanced techniques and tools. They can ensure a seamless and bubble-free tint installation, saving you time and frustration.
Conclusion
Tint bubbles can be a frustrating issue when it comes to tinting windows. However, with the right tools, materials, and techniques, you can effectively remove the bubbles and achieve a smooth and flawless tint finish.
