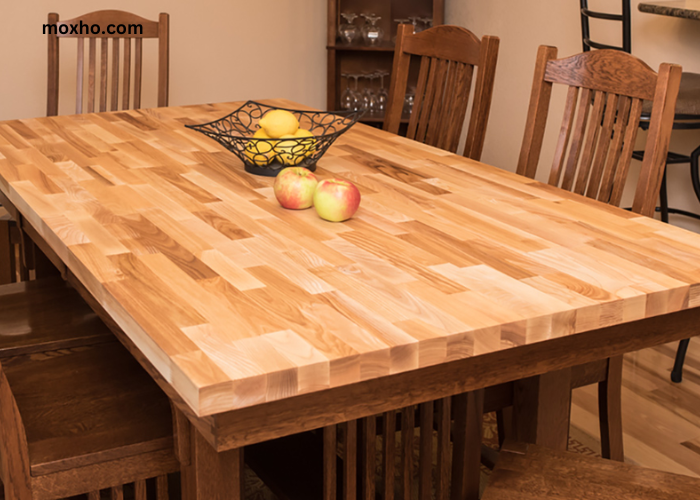
A butcher block table is a versatile and durable piece of furniture that adds warmth and character to any kitchen or dining room. Whether you’re a seasoned woodworker or a beginner, making a butcher block table is a satisfying and rewarding project that can be completed in a weekend. In this guide, we will take you through the step-by-step process of making a butcher block table, from selecting the materials to finishing and decorating the final product.
What are Butcher Block Tables
Butcher block tables are a type of work table that originated in butcher shops and meat processing facilities. They are made by glueing together strips of hardwood to create a thick, sturdy surface that can withstand heavy use and abuse.
Butcher block tables are now popular in residential kitchens and dining rooms for their rustic charm and practicality. A butcher block table can serve as a prep station, a dining table, or a multipurpose work surface.
Materials and Tools Needed
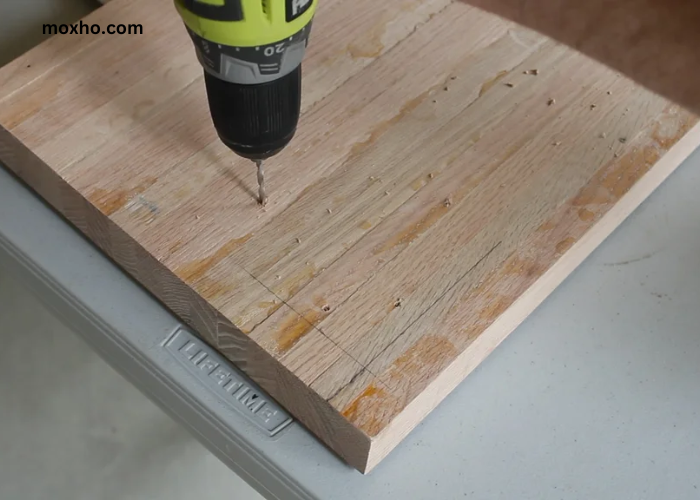
To make a butcher block table, you will need the following materials:
- Hardwood lumber (maple, cherry, oak, or walnut)
- Wood glue
- Sandpaper (60, 120, and 220 grit)
- Mineral oil or butcher block conditioner
- Table legs or base
You will also need the following tools:
- Table saw or circular saw
- Miter saw, or hand saw
- Jointer or hand plane
- Clamps
- Drill
- Biscuit joiner (optional)
Preparing the Wood
The first step in making a butcher block table is to select and prepare the wood. Hardwood lumber is the best choice for a butcher block table, as it is durable and can withstand heavy use. Maple, cherry, oak, and walnut are all excellent choices for a butcher block table.
Once you have selected your lumber, the next step is to mill it to the correct size. You will need to cut the lumber into long, thin strips that are about 1 inch wide and 2-3 feet long. The exact dimensions will depend on the size of the table you are making.
Once you have cut the lumber into strips, you will need to joint and plane each piece to ensure that they are all the same thickness. This step is important because it will ensure that the finished butcher block is even and level.
Cutting and Assembling
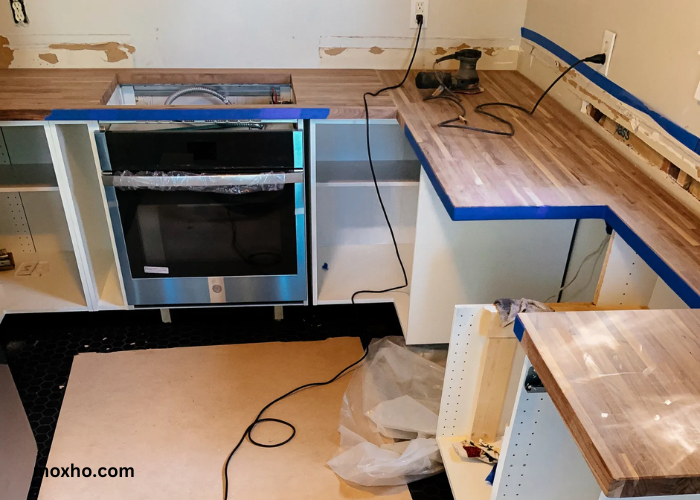
Once you have prepared the wood, the next step is to cut and assemble the butcher block. To do this, you will need to arrange the strips of wood in a pattern that you like. You can create a simple checkerboard pattern or a more complex design, depending on your preferences.
Once you have arranged the wood, the next step is to glue the pieces together. Apply a generous amount of wood glue to each strip of wood and press them together, using clamps to hold them in place. You can also use a biscuit joiner to join the pieces together if desired.
After you have glued the pieces together, allow the glue to dry for at least 24 hours before moving on to the next step.
Sanding and Finishing
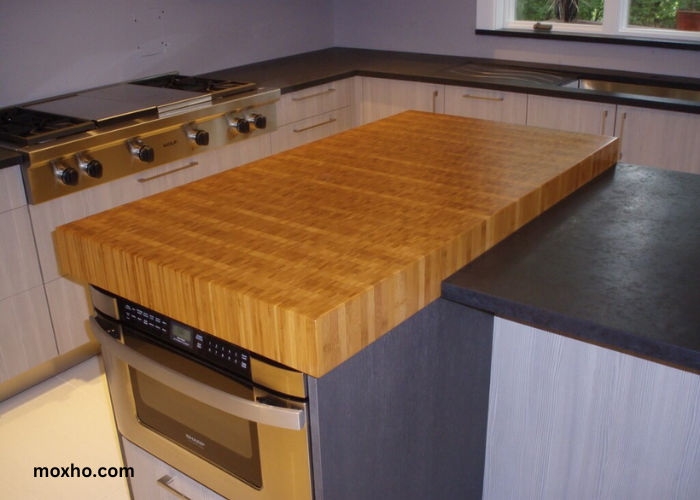
Once the glue has dried, the next step is to sand and finish the butcher block. Start by sanding the surface of the block with 60-grit sandpaper to remove any excess glue or rough spots. Then, work your way up to 120 grit and 220 grit sandpaper, sanding the surface until it is smooth and even.
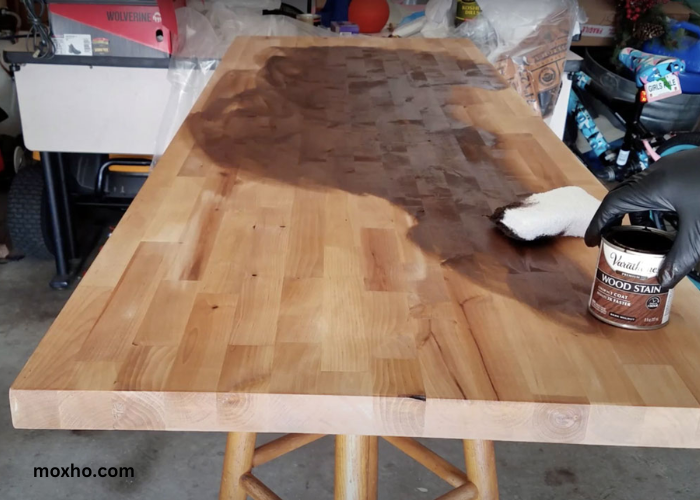
After you have sanded the surface, it’s time to apply the finish. Mineral oil or butcher block conditioner are both excellent choices for finishing a butcher block table. Apply the finish with a clean cloth, making sure to cover the entire surface of the block. Allow the finish to soak in for several hours before wiping away any excess.
Installing Legs or a Base for the Table
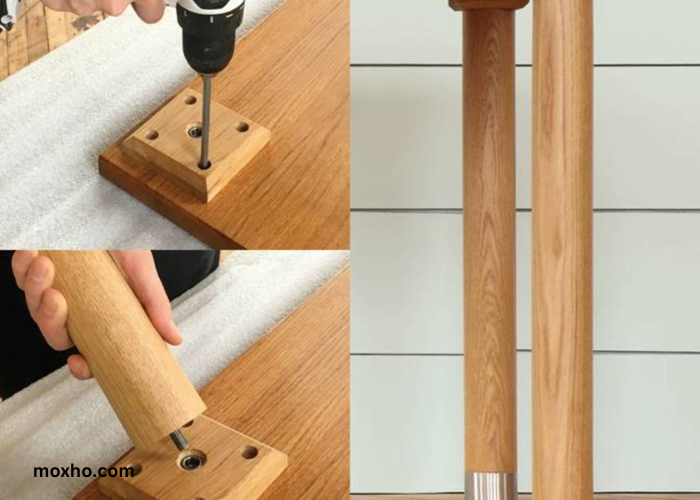
The final step in making a butcher block table is to install the legs or base. There are many different options for table legs or bases, depending on your design preferences. You can purchase pre-made legs or bases, or you can make your own.
If you are making your legs or base, start by cutting the lumber to the desired size and shape. Then, drill holes in the legs or base to attach them to the underside of the table. Once you have attached the legs or base, your butcher block table is complete!
Maintenance and Care
To keep your butcher block table looking beautiful and functioning properly, it’s important to take good care of it. Here are some tips for maintaining and caring for your butcher block table:
- Clean the surface with a mild soap and water solution, and dry it thoroughly.
- Avoid exposing the table to extreme temperatures or moisture.
- Reapply mineral oil or butcher block conditioner every 3-6 months to keep the wood moisturised and protected.
- Use a cutting board or mat to protect the surface when cutting or chopping.
Conclusion
Making a butcher block table is a fun and rewarding project that can be completed at the weekend. With a few basic materials and tools, you can create a beautiful and functional piece of furniture that will last for years to come. Whether you use it as a prep station, a dining table, or a work surface, your handmade butcher block table is sure to be a cherished addition to your home.
